Apple IDでログインできる「Appleでサインイン」をPHPで実装する
WEBサービスやシステム等で、Apple IDでログインを行うことができるようにするための、PHPでの実装についてです。
Appleでサインインについて
Appleでサインインを自社のシステムに組み込むことで、Apple IDでログインする機能を実現することができます。
Appleでサインインを利用することで、デベロッパのシステムに、名前、認証済みのメールアドレス、一意の永続的なIDを使用してユーザーアカウントを設定することが可能となり、ユーザーがApple IDでAppにサインインできるようになります。
PHPでの実装
WEBページで実装する場合には、JSのライブラリが用意されていますが、今回はこれを使わずにPHPで実装します。この場合には、認証処理の手続きを手動で実装します。
To add Sign in with Apple to apps that don’t have access to the Sign in with Apple JS framework, you control the sign-in request manually.
Incorporating Sign in with Apple into other platforms | Apple Developer Documentation
Apple Developperで「App ID」と「Service ID」を登録
まずは、Apple製品の開発に必要なApple Developerにログインして、「証明書、ID、プロファイル」の項目の「ID」を選択して、「App ID」と「Service ID」の登録を行います。
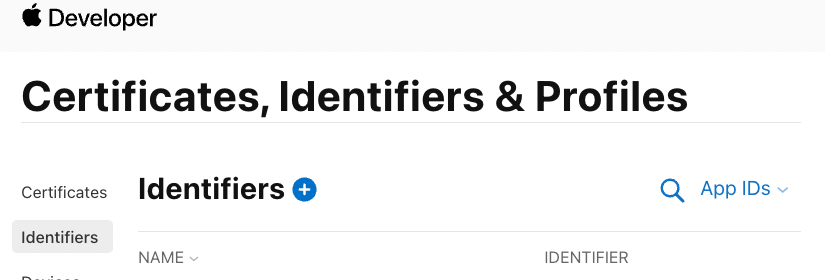
Certificates, Identifiers & Profilesのページを開きます。
App IDの登録
まず、App IDの登録を行います。
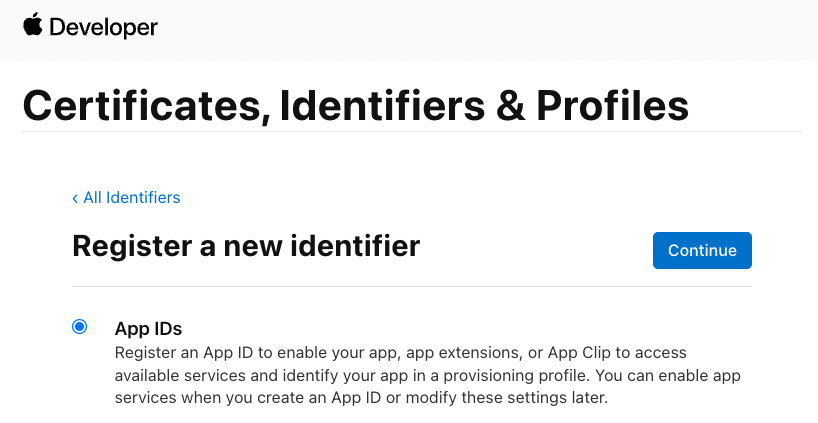
新しくApp IDを登録します。
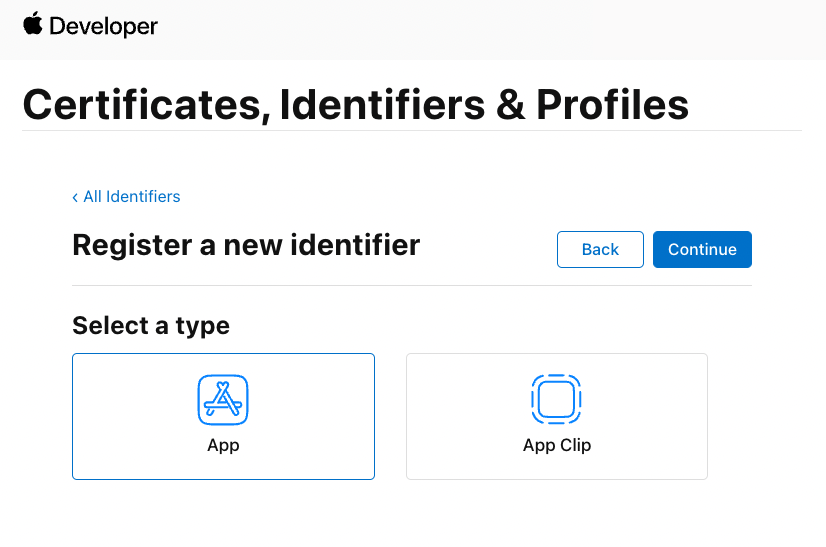
Appを選択して進めます。
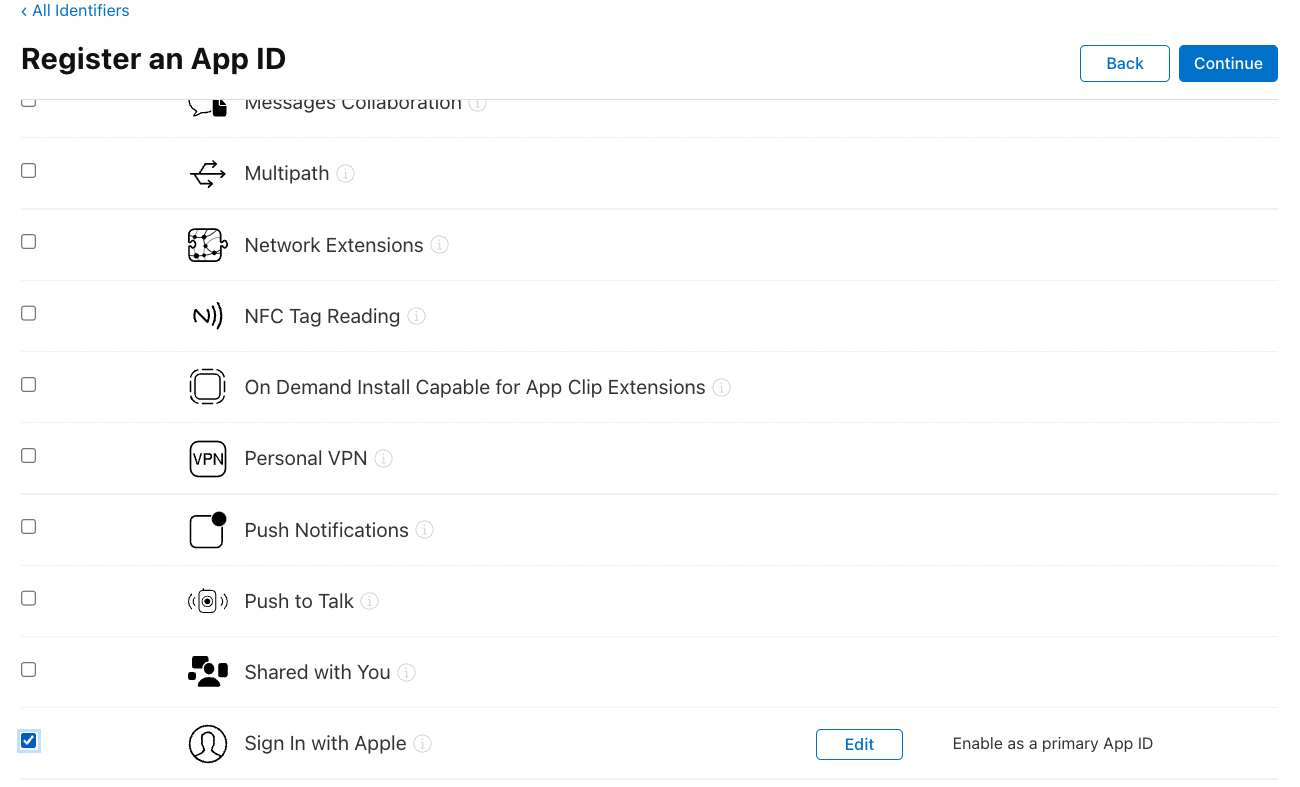
「Sing In with Apple」にチェックを入れて選択します。
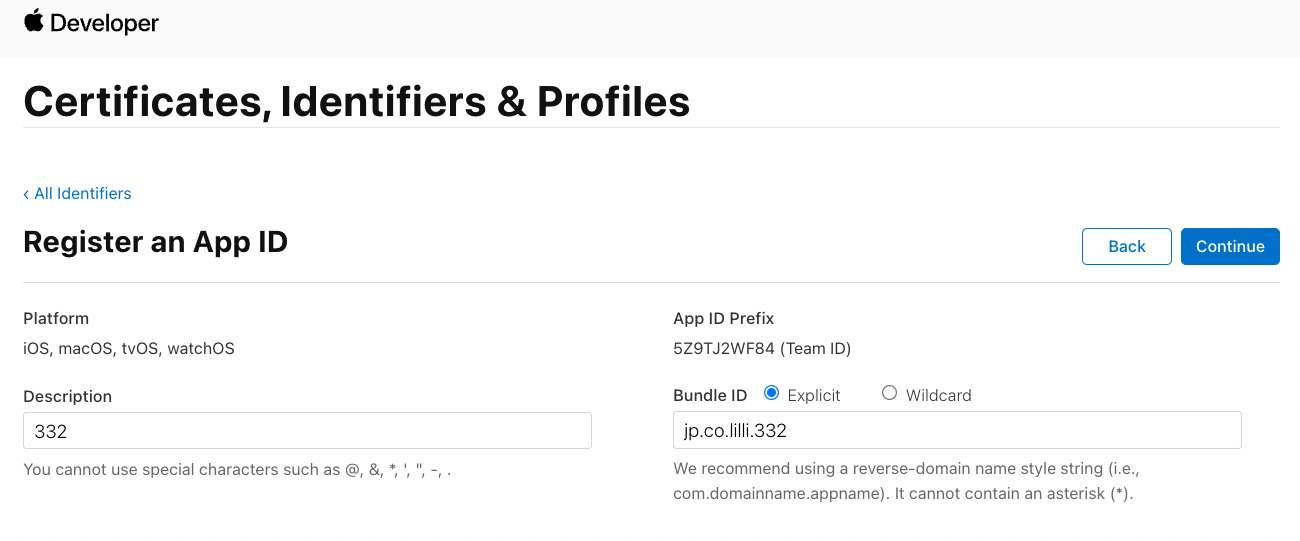
「Description」と「Bundle ID」を設定して、次に進みます。
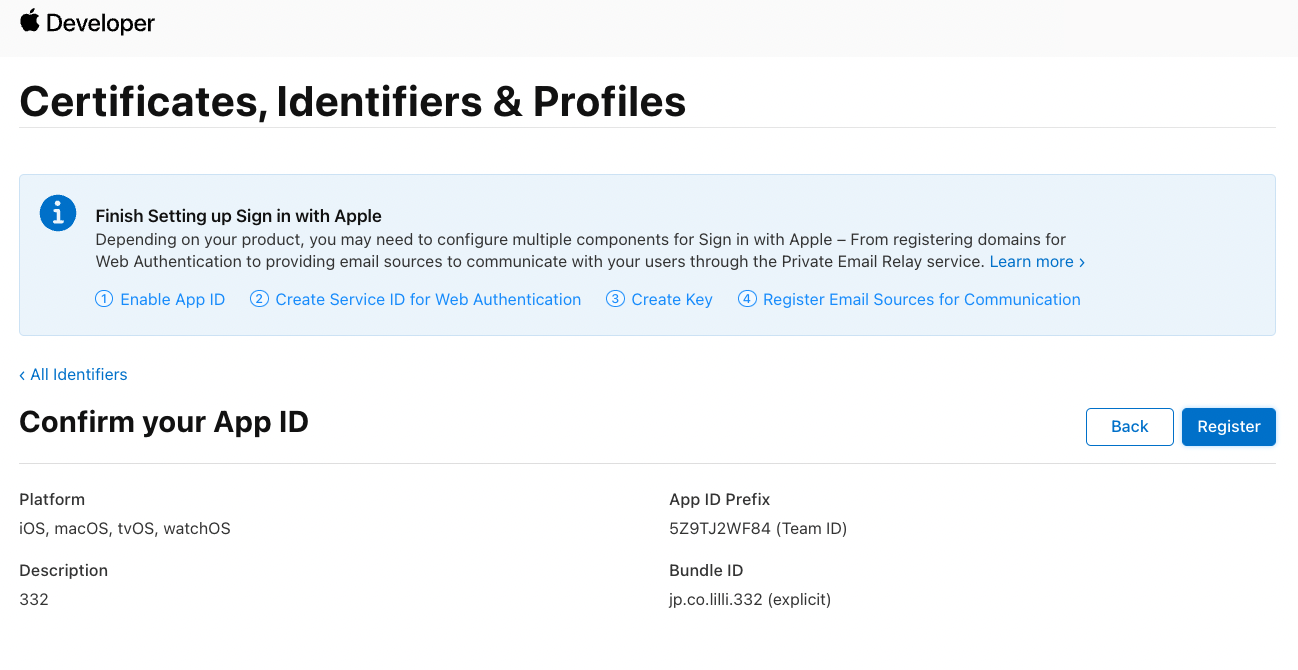
「Register」を押下して登録を完了します。
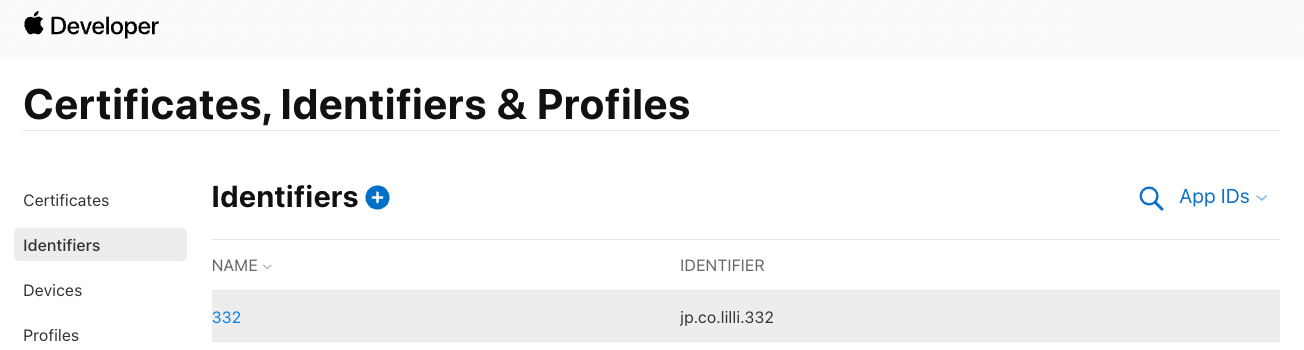
「App ID」が登録できたのが確認できます。
Service IDの登録
App IDが登録できたら、続けて、Service IDの登録を行います。
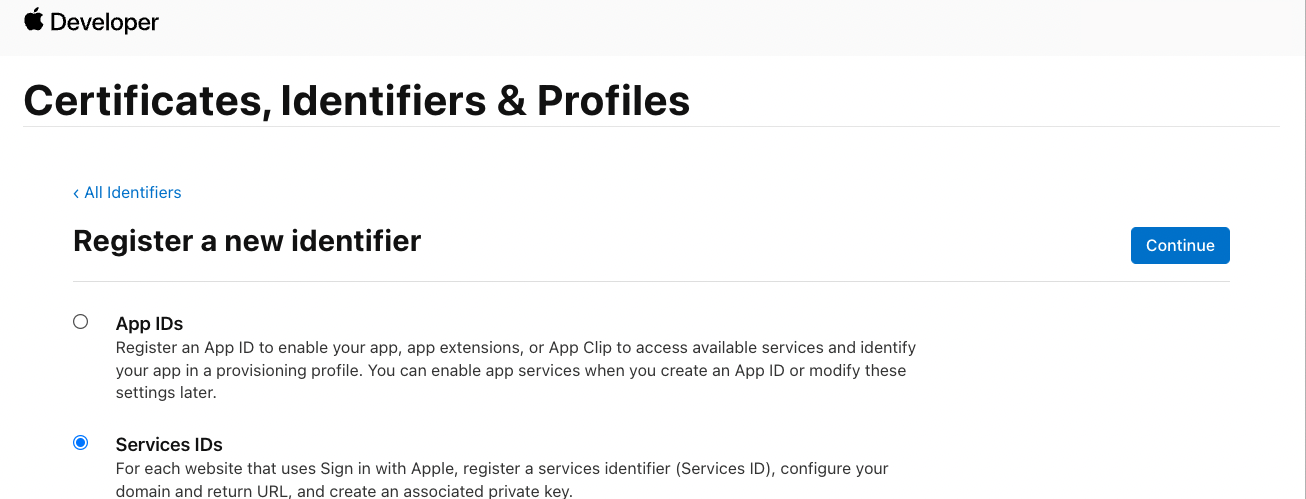
新しく「Service ID」を登録します。
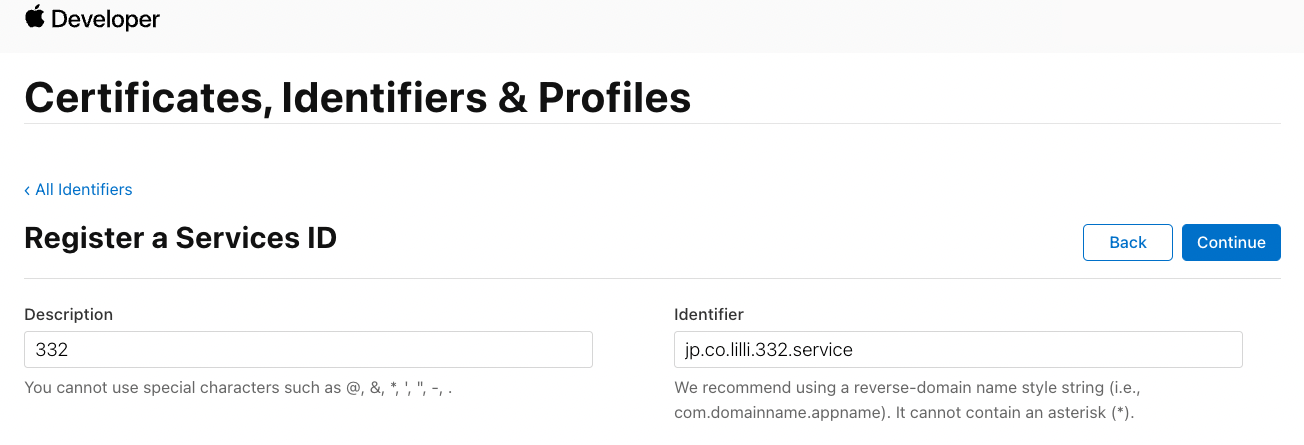
「Description」と「Identifier」を設定して、次に進みます。
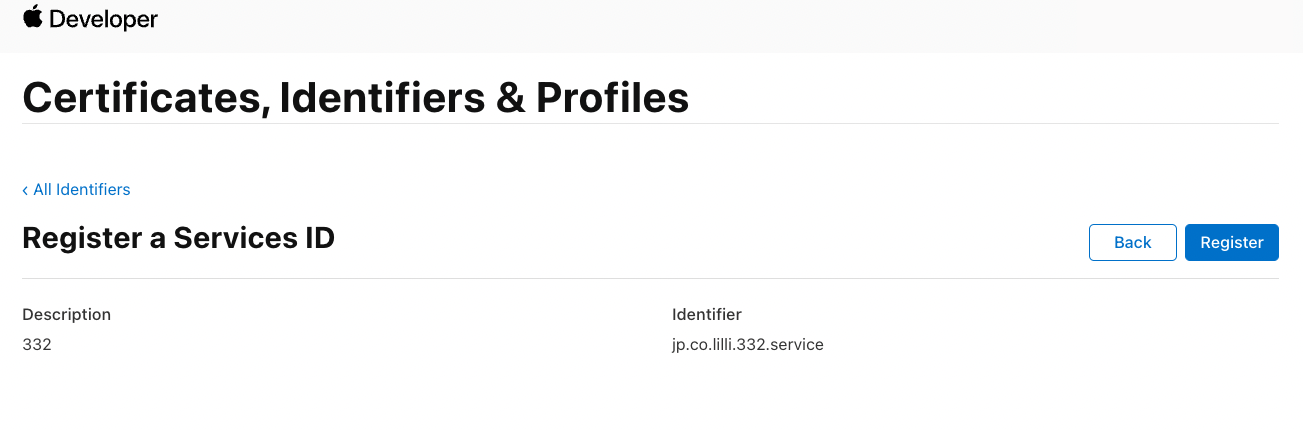
「Register」を押下して登録を完了します。
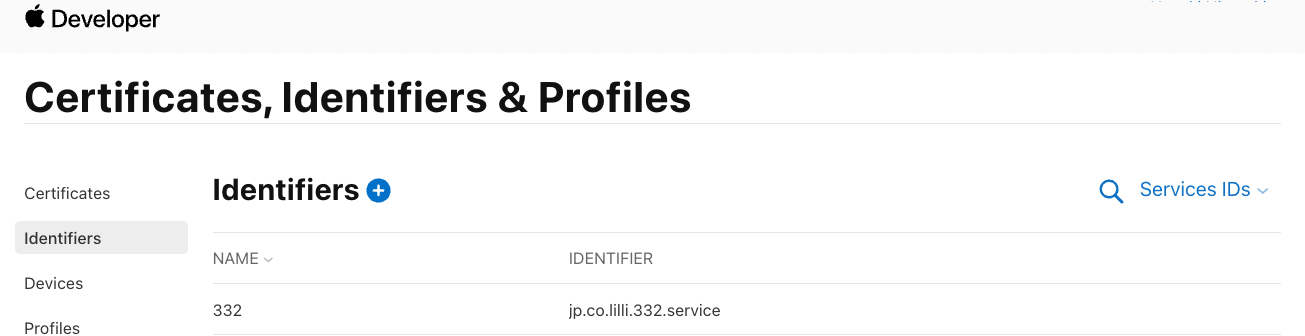
「Service ID」が登録できたのが確認できます。
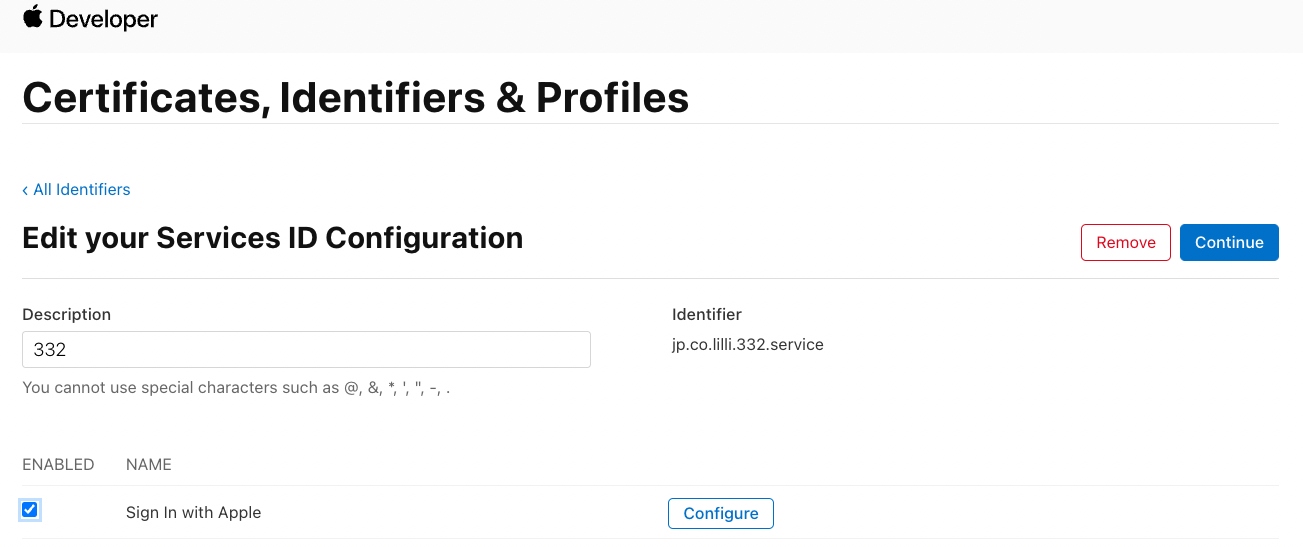
該当の「Service ID」の「Edit your Services ID Configuration」を開いて設定を行います。
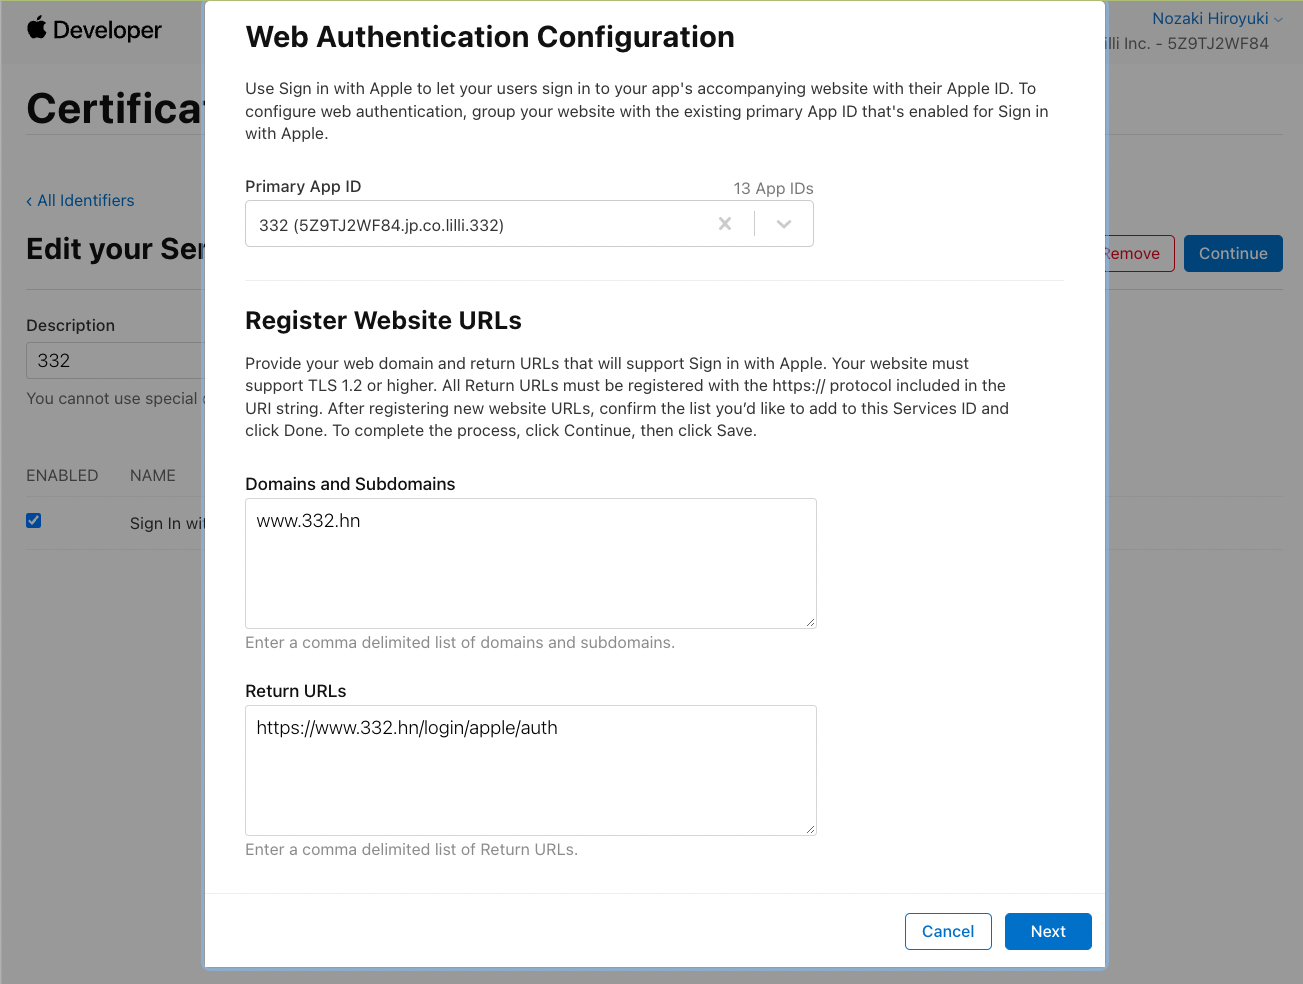
「App ID」の設定と、サービスで利用するドメイン、認証のコールバック先のURLのリストを設定します。
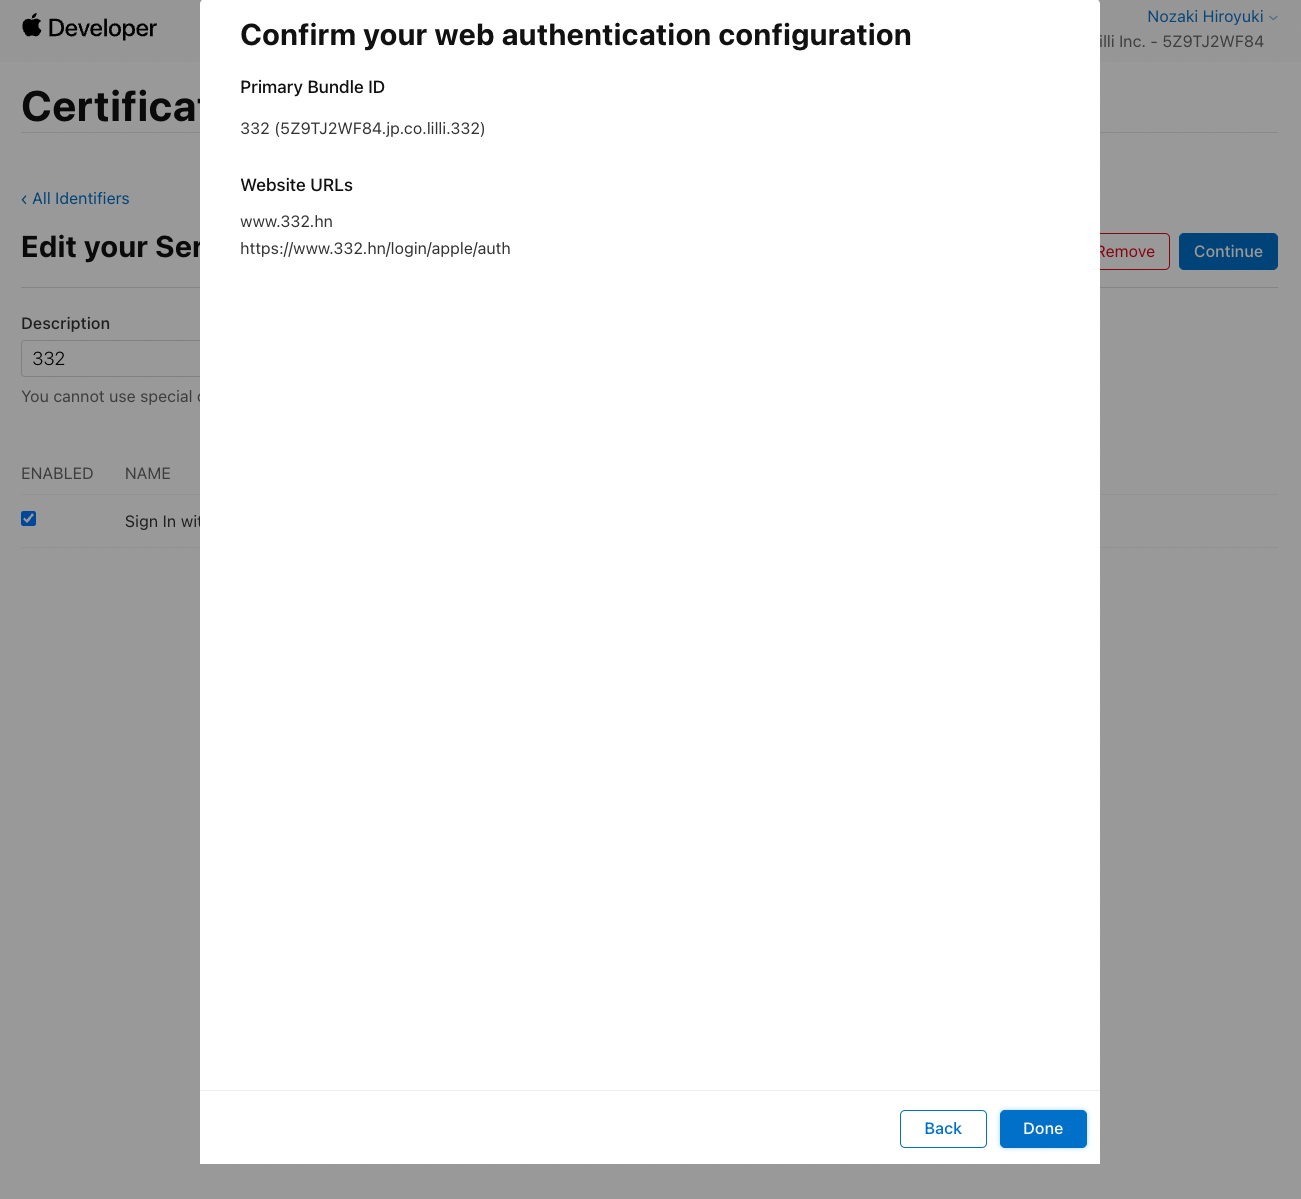
登録情報の確認を行います。
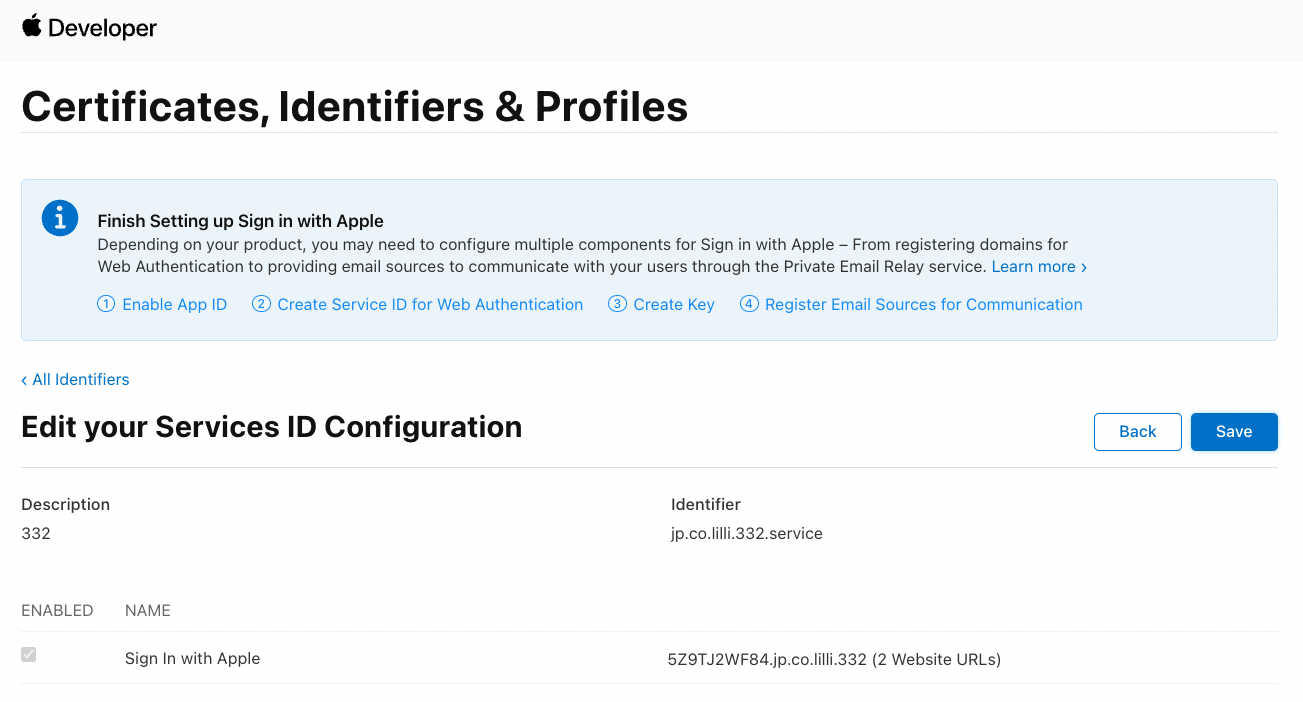
最終的に登録した情報を保存します。
Appleでサインインの実装
サービスの登録が完了したので、実装を行います。
AppleにアクセスするURLの作成
ドキュメントを確認しながら、指定のURLにパラメーターを設定します。指定できるscopeは、「name」と「email」となっています。
Send the required query parameters
Direct the authorization request using the HTTP GET method to the URL: appleid.apple.com/auth/authorize. The URL contains the following parameters:
Incorporating Sign in with Apple into other platforms | Apple Developer Documentation
PHPのコードで実装すると以下のようになります。
<?php
$base_url = "https://appleid.apple.com/auth/authorize";
$params = array();
$params["client_id"]     = "332.service";
$params["scope"]         = "name email";
$params["response_type"] = "code id_token";
$params["redirect_uri"]  = 'https://www.332.hn/login/apple/auth';
$params["response_mode"] = "form_post";
$redirect_url = $base_url ."?".http_build_query($params);

header('Location: ' .$redirect_url);
Apple IDでの認証
ブラウザでURLにアクセスすると、Appleの認証画面に推移するので、クライアントで利用するApple IDで認証を行います。
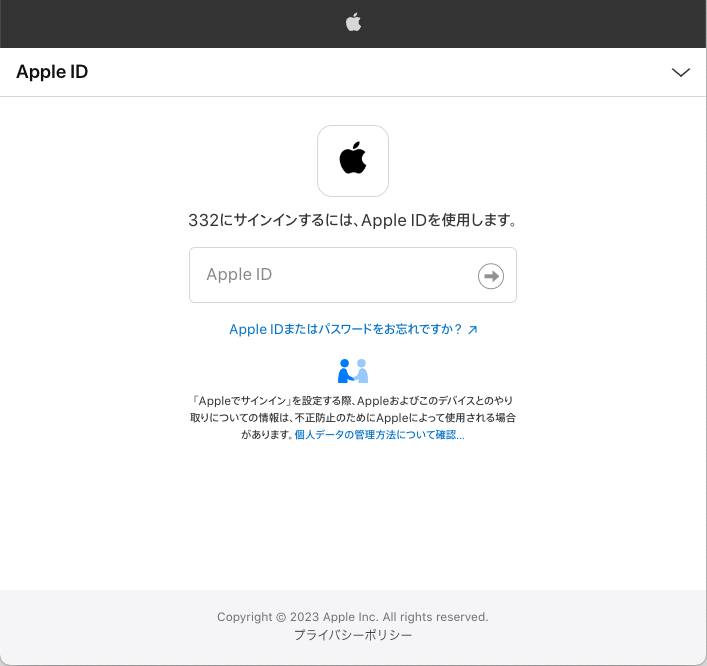
Appleアカウントでログインします。
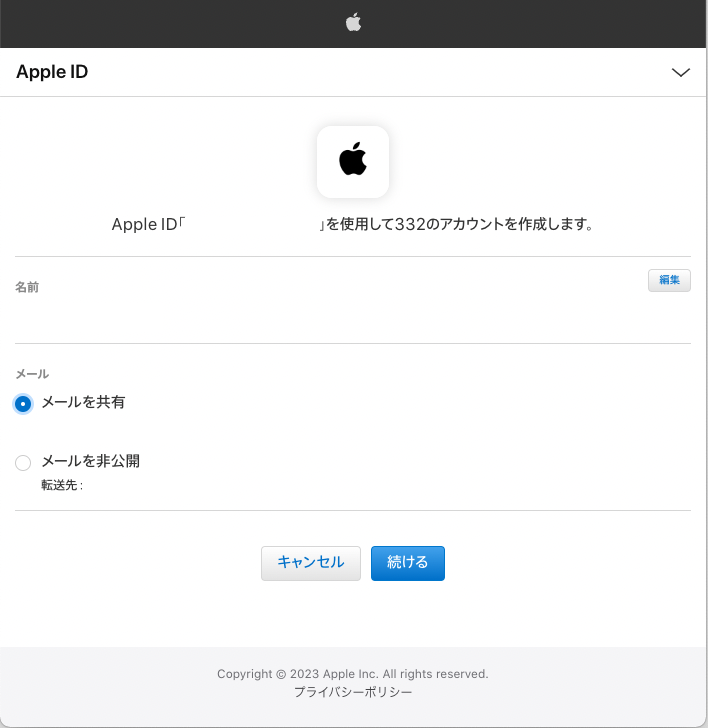
メールアドレスをサービスに公開すすか匿名のメールアドレスを通知するかを選択します。
サービス認証のリセット
開発の段階においては、クライアントのAppleIDのサービスの登録をリセットしたい場合があります。その際には、Apple IDを管理からログインして、「Appleでサインイン」の項目から登録されているサービスを削除します。

登録済みのサービスを確認します。
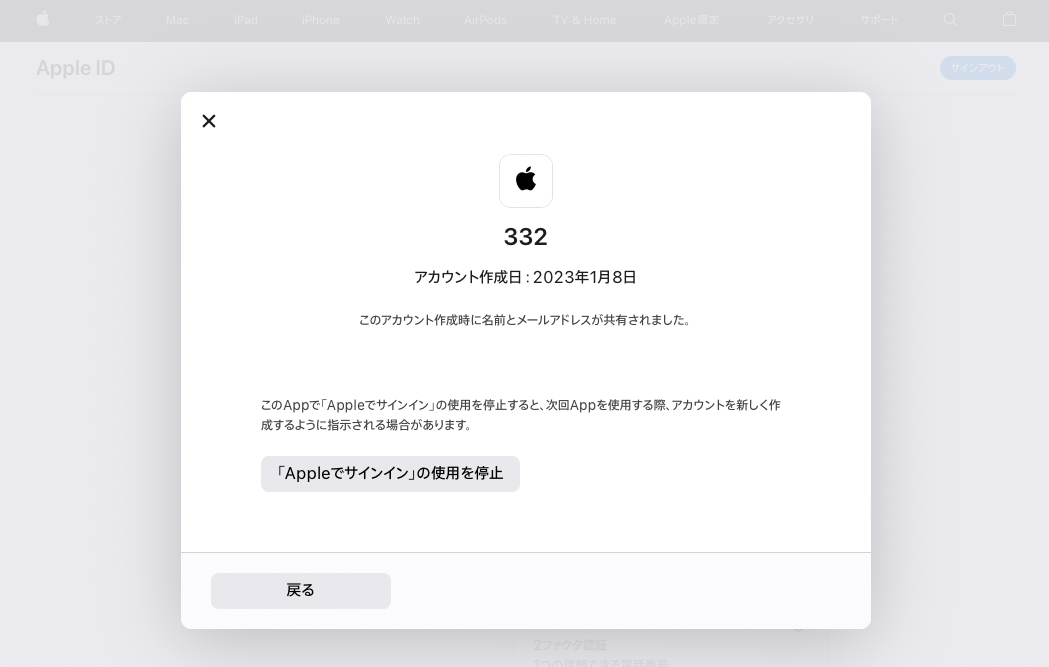
「「Appleでサインイン」の使用を停止」を押下して削除します。
Appleから認証情報を確認
Appleでの認証が完了すると、指定したサービスのコールバックURLに戻ってきます。
確認すると、以下のような情報を取得できていることが確認できます。
<?php
var_dump($_POST);
array(3) {
["code"]=>
string(62) "c1807723c3a0d418b9fb4787ecdcde1c1.0.rrz.POIbqaLgzZvDiHUQbGQWNw"
["id_token"]=>
string(769) "eyJraWQiOiJmaDZCczhDIiwiYWxnIjoiUlMyNTYifQ...."
["user"]=>
string(82) "{"name":{"firstName":"","lastName":""},"email":""}"
}注意としてあるのが、「 [“user”]は、クライアントの初回の認証時のみに取得することができ、2回目以降は、取得できないようです。
array(2) {
  ["code"]=>
  string(62) "c39c4a197eeb4462bb2e0b1e0711c507e.0.rrz.ou8dWU1Nj15y2C3HpVytog"
  ["id_token"]=>
  string(769) "eyJraWQiOiJmaDZCczhDIiwiYWxnIjoiUlMyNTYifQ...."
}
また、クライアントが、認証の初回の際に、「メールを非公開」を選択した場合には、ランダムなメールアドレスが設定され、2回目以降もこのメールアドレスが通知されるようです。
array(3) {
  ["code"]=>
  string(62) "ce2e675a9ea854425ae119f05b10c2522.0.rrz.l9wGMzsiRmdBMdf7Q-X4Ag"
  ["id_token"]=>
  string(826) "eyJraWQiOiJXNldjT0tCIiwiYWxnIjoiUlMyNTYifQ...."
  ["user"]=>
  string(99) "{"name":{"firstName":"","lastName":""},"email":"dwth22b5pv@privaterelay.appleid.com"}"
}
システムに組み込むための実装
PHPの処理で、まとめると、以下のような処理をすることで、Appleからの情報を受け取ることができます。あとは、システムに合わせて詳細の実装を行えばよいかと思います。
<?php
$code = json_decode(htmlspecialchars($_POST["code"]),true);
var_dump($code);

if(isset($_POST["user"]))
{
    $user = json_decode(htmlspecialchars($_POST["user"]),true);
    var_dump($user);
}

$id_token_array = explode(".", htmlspecialchars($_POST["id_token"]));
$data = json_decode(base64_decode($id_token_array[1]), true);
var_dump($data);2023年01月10日に投稿されました。
2023年01月15日に更新されました。